Tel: +86-19906868508
E-mail: info@sihanmed.com
Tel: +86-19906868508
E-mail: info@sihanmed.com
Insufficient and stiff angulation: Prolonged use has caused the angulation wires to stretch and degrade, with wear on the snake bone joints, resulting in stiff and jerky angulation adjustments.
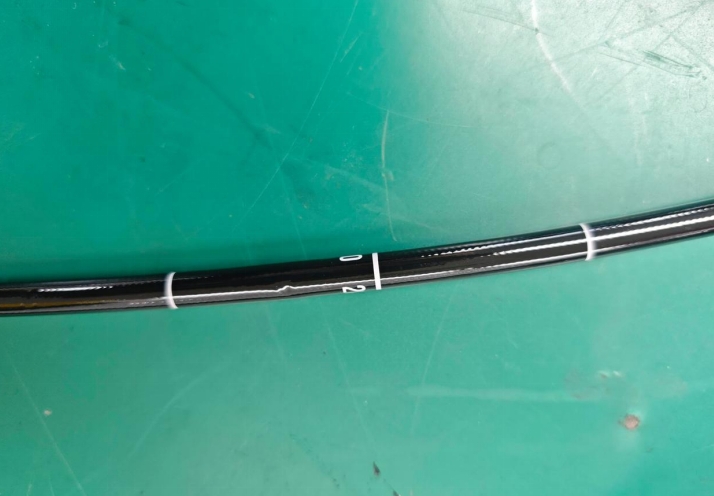
Insertion tube with indentations: Frequent operation and external pressure have led to spiral tube deformation, visible indentations on the outer sheath, and reduced flexibility.
Nozzle clogging: Accumulated debris in the water and air channels has caused internal blockages, affecting air and water delivery functions.
Broken optical fibers and abnormal imaging: Severe breakage in the light guide fibers and delamination of optical glass have resulted in dim and unstable image transmission.
Small locking cap detachment: Loose fasteners in the control section caused the locking cap to fall off.
Button malfunction: Poor contact in Button 1 due to oxidized internal wiring in the button assembly.
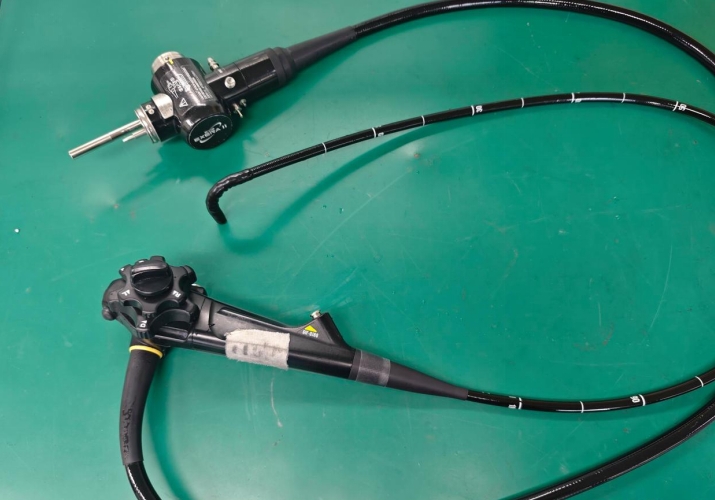
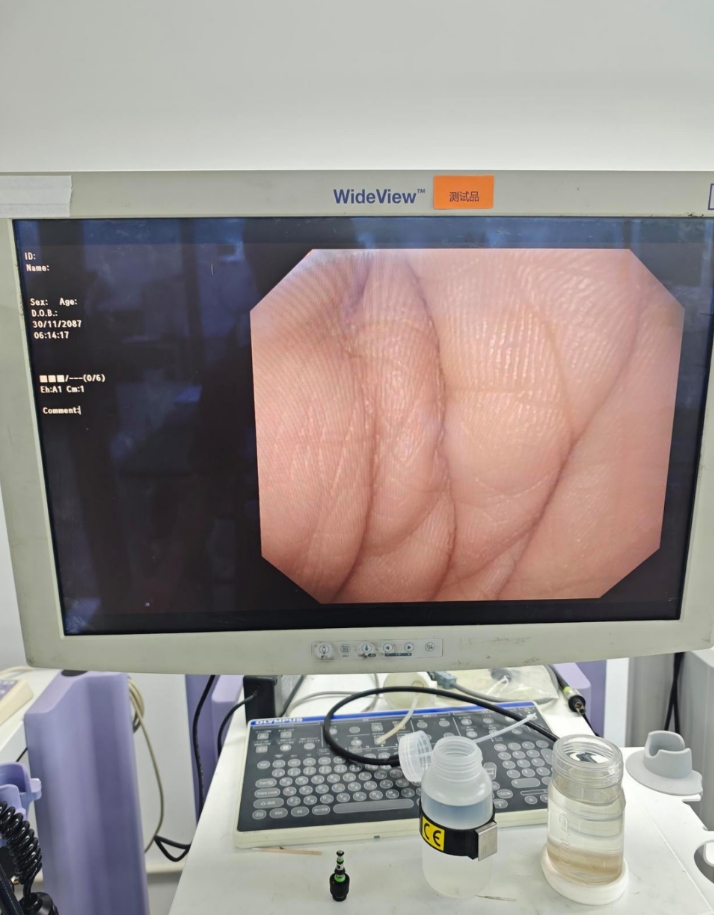
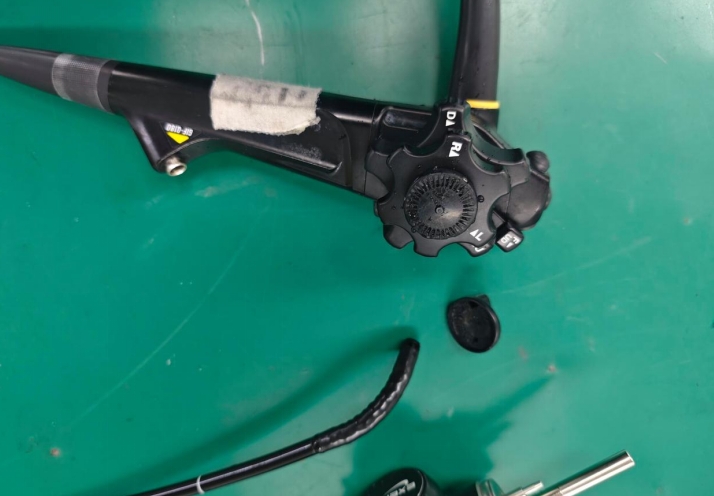
Replace snake bone and wires: Remove the worn snake bone and install a new, flexible OEM snake bone; replace with high-strength angulation wires and adjust tension to standard specifications.
Replace spiral tube and braiding: Remove the deformed spiral tube and install a new kink-resistant tube; reinforce the insertion tube with high-quality braiding for better pressure resistance.
Replace insertion tube and nozzle: Fully replace the indented insertion tube, clean and flush the water and air channels, and install a new nozzle.
Repair light guide assembly: Replace broken light guide fibers, re-bond delaminated optical glass, and test light transmission brightness.
Repair control section: Reinforce the locking cap fasteners; disassemble the button assembly, replace Button 1, and repair oxidized wiring.
Trusted endoscope repair specialist for Olympus GIF-Q180 and similar electronic gastroscopes.
